| Rye %: | 100% |
| Stages: | 3-stage sponge, Final dough |
| Leaven: | Rye sour culture |
| Start to Finish: | 24-28 hours |
| Hands-on Time: | 35-40 minutes |
| Yield: | One 2¼ lb/1.0 kg loaf |
Lublin Rye, which I found in the Polish bread blog Adam Piekarz (“Adam’s Bakes”) appeals to me on many levels. Firstly, its history: according to Adam, “back in the 1960s, when the content of rye bread was regulated by the [Communist] state, Lubelski was considered a great luxury because it used 100% white rye flour, which was available only at certain times of the year.” Second, it’s the most basic of rye breads, containing only rye flour, water, salt and sour culture. If nothing else, I was expecting a bread that showcased the subtlety of white rye and the balance of a three-stage sponge.
Three-stage sponges are especially interesting from a technical and chemical perspective. The first stage, which generally hydrates at 100-120%, is aimed at strengthening the yeast, i.e., leavening power of the sponge. The second stage, which is much stiffer – in this case, only 57% hydrated – is designed to promote the development of the lactic acid bacteria, with the low hydration favoring the production of acetic, rather than lactic acid. Finally, the third stage, again hydrated to around 100%, brings the microorganisms back onto balance, resulting a a robust culture with well-defined acidity and solid leavening power.
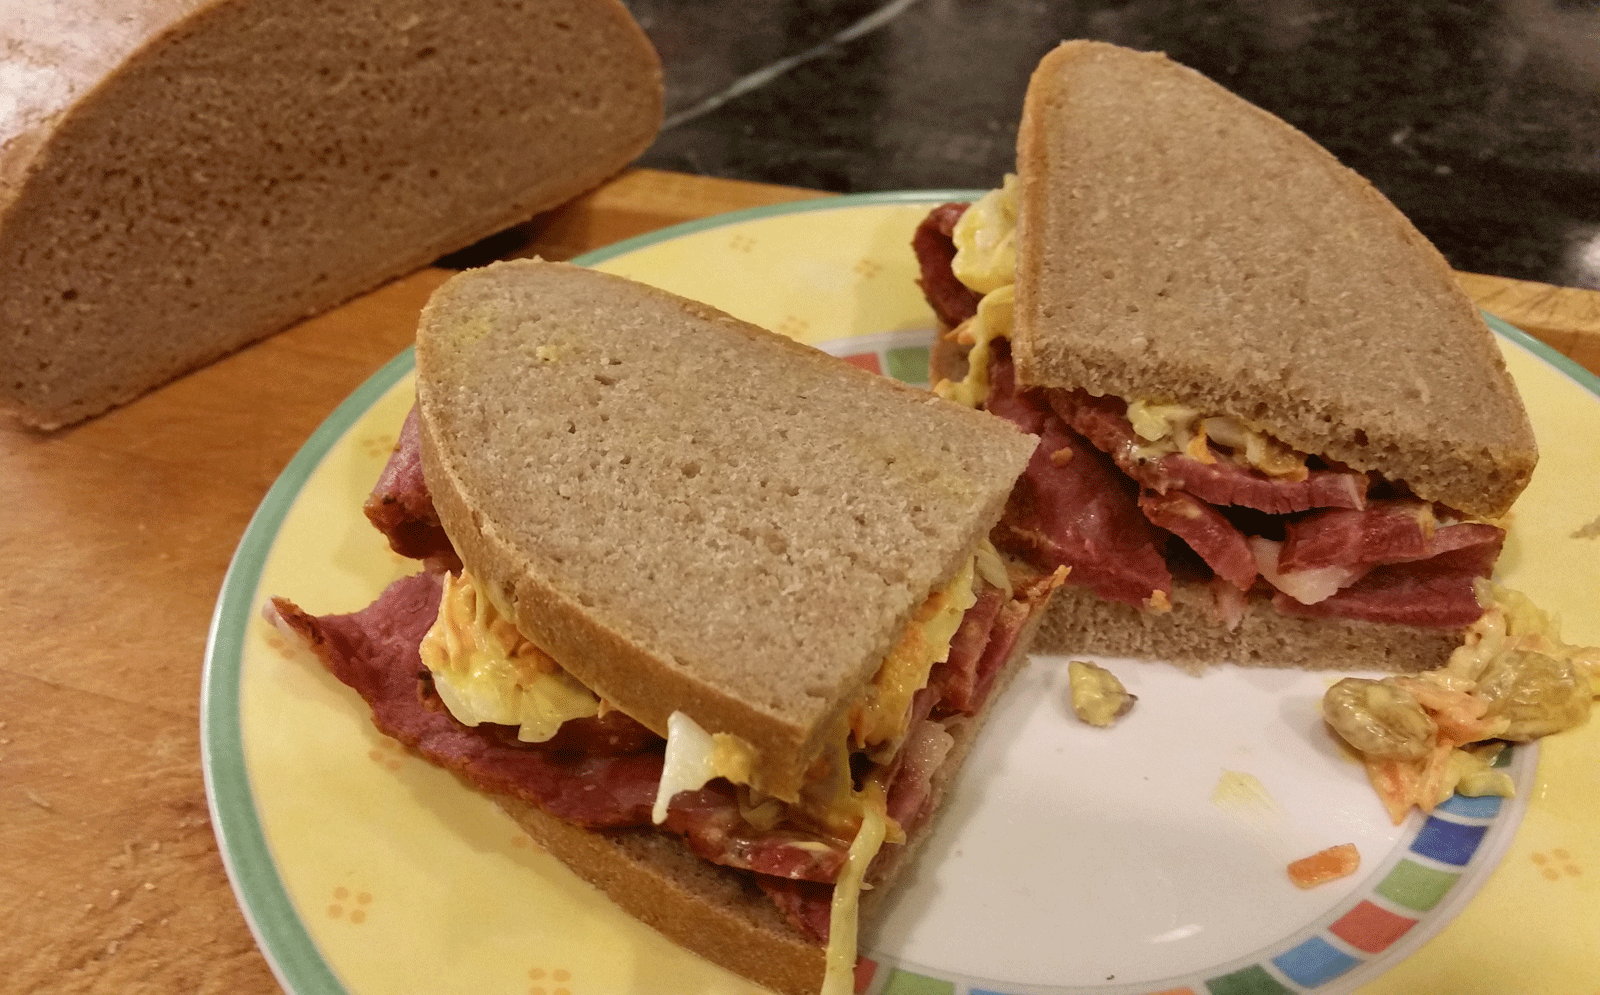
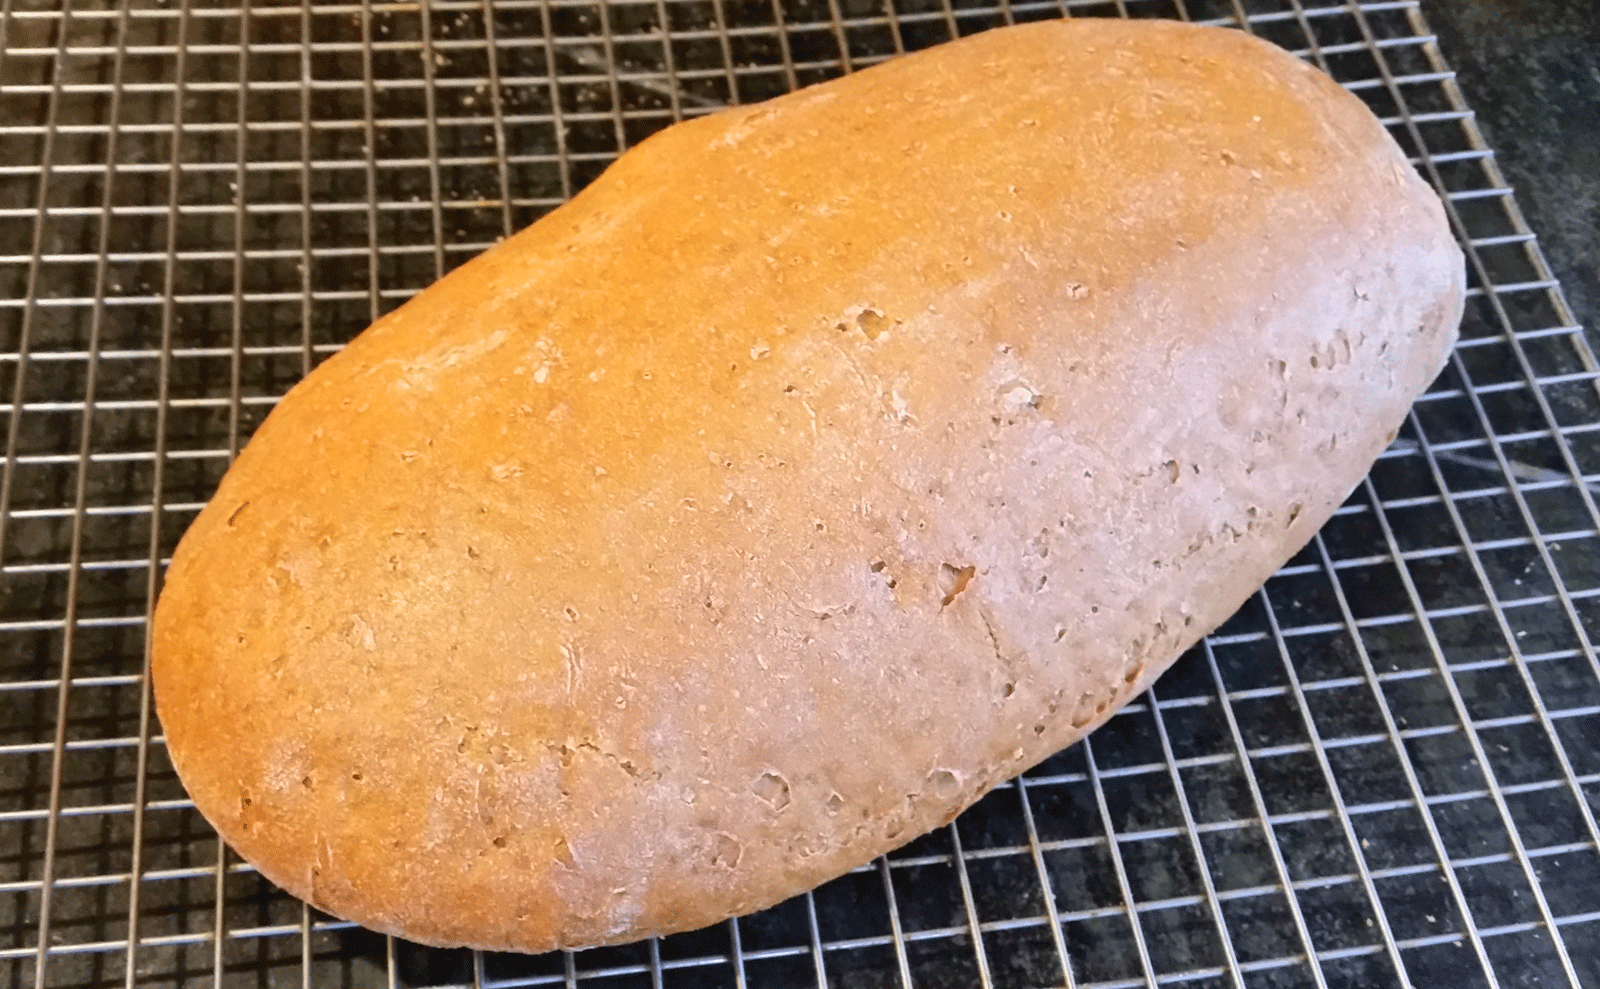
The process, albeit a bit time-challenged, was really enjoyable. The sponges developed beautifully and the dough came out of the mixer moderately firm and easy to handle. Nor did the bread disappoint: my effort was rewarded with a tender, close-crumbed loaf whose subtle, nicely balanced sour played against the subtle sweet nuttiness of the white rye. I at the first slice unadorned, and then with a light coating of sweet butter, which let the flavors come shining through. That evening, we filled it with pastrami and cole slaw, for which the Lubelski proved itself a perfect complement.
Stage 1 sponge (Day 1, Evening):
| Ingredient | Grams | Ounces | Baker’s Percentage |
| White rye flour | 40 | 1.40 | 100% |
| Warm (105°F/41°C) water | 40 | 1.40 | 100% |
| Rye sour | 20 | 0.70 | 50% |
In the mixer bowl combine the Stage 1 sponge ingredients by hand.
Cover and ferment at room temperature (70°F/21°C) overnight, 8-10 hours. The sponge will have become very bubbly and visibly expanded.
Stage 2 sponge (Day 2, Morning):
| Ingredient | Grams | Ounces | Baker’s Percentage |
| White rye flour | 100 | 3.55 | 100% |
| Warm (105°F/41°C) water | 40 | 1.40 | 40% |
Add the water to the Stage 1 sponge and stir until evenly dissolved, then add the flour, kneading by hand into a stiff dough.
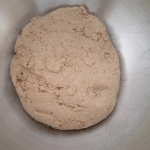
Cover and ferment at room temperature until doubled in volume, 6-8 hours.
Stage 3 sponge (Day 2, Afternoon):
| Ingredient | Grams | Ounces | Baker’s Percentage |
| White rye flour | 215 | 7.60 | 100% |
| Warm (105°F/41°C) water | 285 | 10.05 | 133% |
Add the water to the Stage 2 sponge and stir until evenly dissolved, then add the flour and mix into a smooth dough.
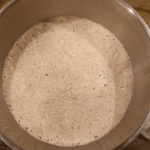
Cover and ferment at room temperature until the sponge becomes bubbly and expands to at least twice its original volume, 5-7 hours.
Final Dough (Day 2, Evening):
| Ingredient | Grams | Ounces |
| White rye flour | 365 | 12.85 |
| Warm (105°F/41°C) water | 100 | 3.55 |
| Salt | 11 | 0.40 |
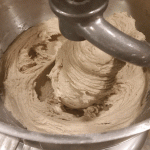
Add the final dough ingredients to the Stage 3 sponge and use the dough hook to mix at low (KA2) speed until the dough comes together and starts climbing the dough hook, 8-10 minutes. Cover and ferment at room temperature until the dough has visibly grown, about 30 minutes.
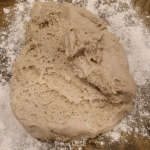
Turn the dough onto a well-floured work surface.
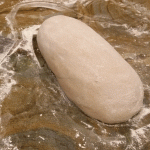
Use floured hands to shape the dough into a batard or boule and place on a well-floured peel, if using a baking stone, or on a parchment-lined sheet pan.
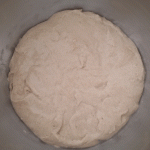
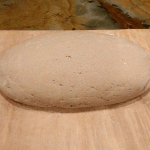
Cover and proof at room temperature until the loaf has grown to 1½ times its original size and the surface shows cracks or broken bubbles, 60-75 minutes.
Preheat the oven to 480°F/240°C with the baking surface in the middle and a steam pan on a lower shelf. Bake 5 minutes with steam, then remove the steam pan, lower the temperature to 410°F/210°C and bake until the crust is light brown and the internal temperature is at least 198°F/92°C, about 30 minutes. Turn off the oven, spray or brush the loaf with water and bake with residual heat for another 2-3 minutes. Transfer to a rack and cool thoroughly before slicing.
Baker’s Percentages:
| Ingredient | g | % |
| White rye flour | 720 | 100.00% |
| Water | 465 | 64.58% |
| Salt | 11 | 1.53% |
| Rye sour culture | 20 | 2.78% |
| TOTAL FORMULA | 1,216 | 168.89% |
| Flour prefermented | 355 | 49.31% |

Will Alexander
June 2, 2016Thanks for the thorough easy to follow formula. It’s a great rich bread. I don’t know how you collect these rye formula’s so again I thank you! Great job.
Trish
June 11, 2016Trying this one…don’t have white rye but my Mum is Polish…so its a start! Our flour here in New Zealand is very limited. Only seen one rye and it seems ‘medium’. Temp of water seems very hot.
Stanley Ginsberg
June 11, 2016Medium rye will work just as well, but will produce a darker, stronger-flavored bread. The water temperatures assume that the final temperature of the sponge/dough will be closer to the 84F/28C “sweet spot” for fermentation after the water comes in contact with the cooler bowl and other ingredients.
Trish
June 11, 2016Thanks Stanley. I think my rye flour was not ‘right’, in the morning the sponge was flat and covered in a layer of water. I added another 100g rye but not the 40g water (from day 2 sponge) It started to look better, but I decided not to carry on and added 300g white and 30g whole wheat. So it’s about 30% rye now. I am sorry I could not complete your recipe as it does look great.
Agnieszka
October 24, 2016A tiny detail: the name of Adam’s blog would better translate as “Adam the Baker”. And thank you for pointing me to a Polish blog about bread baking! 🙂 I found your site by first finding your new book on Amazon, and it seems that it started a windfall of good finds: your blog, Adam’s blog, and a source for a variety of rye flours! I better get baking soon 🙂
Joanna
May 28, 2018Thank you for this recipe! The bread turned out really tasty and the crumb is just right (I used King Arthur white rye). However, the loaf is flat as a pancake. I used to bake professionally, so I’d like to think I know what I’m doing 🙂 but I don’t know how to bake this bread as a free standing loaf with 100% rye. What’s the secret?
Stanley Ginsberg
May 28, 2018Hard to know why your bread came out flat without knowing details about how you prepared it. My immediate thought, however, is that you may need to reduce the hydration, since rye is extremely hydrophilic and (based on your screen name) you may be living in a humid environment.
Hope this helps.
Joanna
June 9, 2018You were absolutely correct — thank you! I reduced the hydration and it worked out great. And yes, it’s quite humid here 🙂 I actually grew up in Poland but don’t remember this bread. We were more into really dark whole-grain rye breads. My favorite was called “honey wholemeal” and it was very heavy and moist. I still haven’t found a recipe that would produce something resembling that bread. Thank you for keeping these bread traditions alive!
Abe
August 24, 2018I’ve just started the first sponge. Will let you know my results.
Boguslaw
August 30, 2019How is the result
Catarina E
February 2, 2020What’s the reasoning behind brushing the loaf with water at the end of the baking process?
Stanley Ginsberg
February 7, 2020Two things: First, it softens the crust and second, it gelatinizes some of the hot surface starches, lending a slight sheen to the finished crust.
Catarina E
February 7, 2020Thanks. It was my first 100% rye bread. The sponges proofed really nicely.
JOANNA BURMAN
February 19, 2020I was brought up in Poland and “chleb lubelski” was a daily staple in our home. I’ve been looking for a recipe for this bread for ages, there is nothng quite like it. I was surprised that it has not survived in Poland either. When I visited Warsaw in 1985 I could not find it anywhere, neither during my subsequent visits. Thank you for posting the recipe. I am a newbie sourdough baker but I will try out this recipe as soon as I get some white rye flour. I think I should start from a bit lower hydration level and increase it as I gain experience and confidence. I remember this bread was always sold as a round loaf, is it easier to make an oblong one? I have a round dutch oven.
Stanley Ginsberg
February 27, 2020I prefer oblong loaves because they produce more uniform slices. It’s really a matter of what you like.
Joanna
February 27, 2020Thank you for your reply and thank you again for the recipe, the tastes of childhood are hard to part with.
Frank S Joseph
May 2, 2020This really looks like the Kosher rye of my childhood except no caraway seeds. I daresay I could add them, no harm done? Or better, you could post a recipe for the kind of seeded rye once made on premises in Chicago Jewish delicatessens of the early postwar era. 🙂
Stanley Ginsberg
May 6, 2020I have a deli rye recipe posted here. do a search.
Frank Joseph
May 6, 2020I did but I will again. Just discovered this great website and already I’ve made your Lavian rye, which turned out fabulously. Keep up the great work!
Gary Arch
September 14, 2020Thank you very much for sharing this recipe and the link to Adam’s blog – which is another treasure trove of very useful information and recipes.
I made this bread over the weekend and it was my first 100% Rye success!
I was delighted with the outcome. Until then everything I tried had been a ” heavy brick” failure.
I wanted to note that I find your book extremely informative, I use it as a constant reference source, and it helps me understand Rye baking and has opened my eyes to the techniques which can be used.
Thank you for taking the time/effort to share your knowledge – it’s very much appreciated to a novice baker such as I.